How to Stain Wood For Pictures And Other Wall Decor
There are several ways to apply stain to wood for pictures and other wood wall decor, but the following steps should help you achieve a smooth and even finish:
Sand the wood: Begin by sanding the wood with fine-grit sandpaper to create a smooth surface. Sanding also helps to open up the wood's pores, allowing the stain to penetrate evenly.
Clean the wood: Use a clean, dry cloth to remove any dust and debris from the wood.
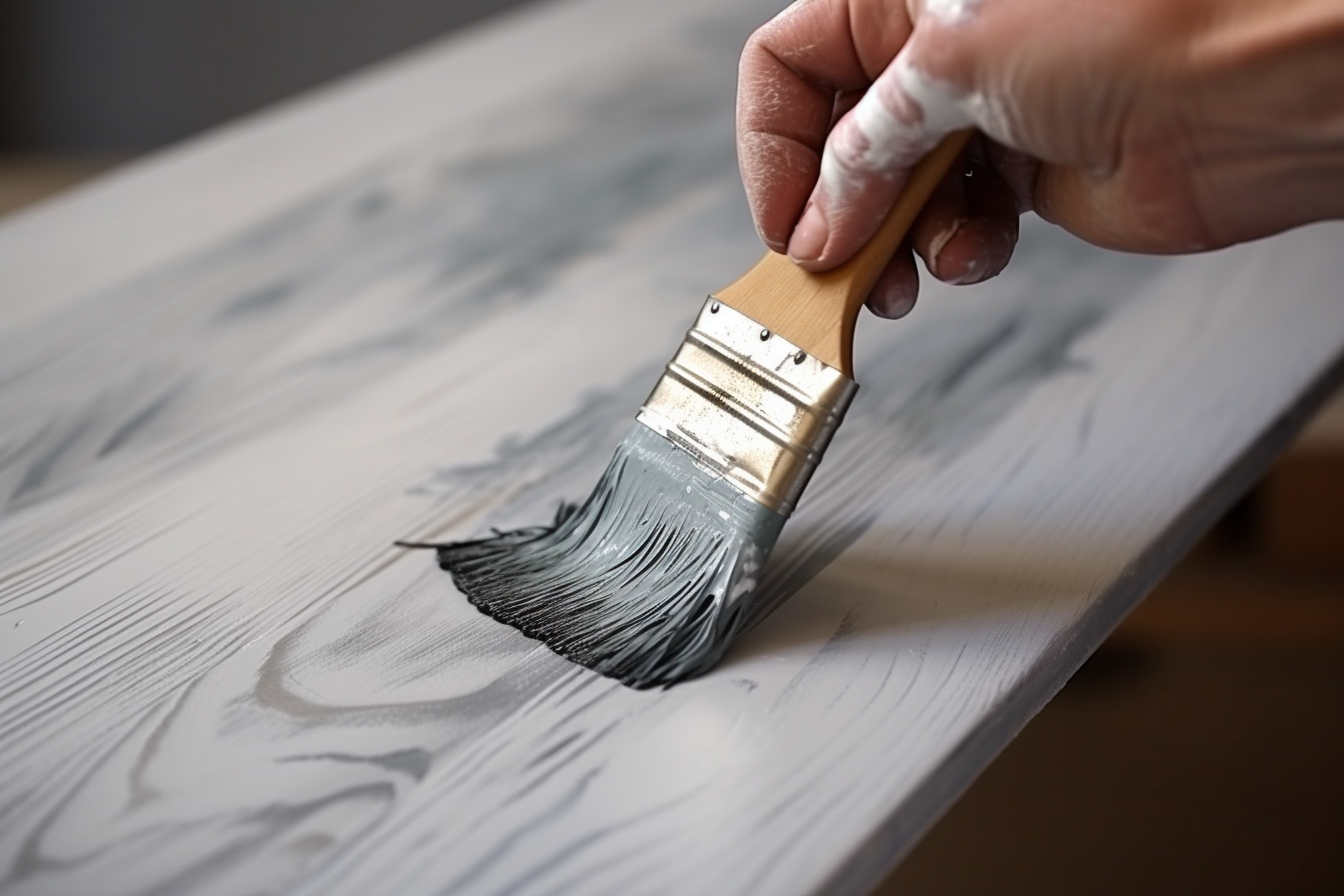
Apply the stain: Stir the stain thoroughly before applying it with a brush or cloth, following the manufacturer's instructions. Work in small sections and apply the stain evenly in the direction of the wood grain. Wipe off any excess stain with a clean cloth, working quickly to avoid blotches and streaks.
Allow the stain to dry: Let the stain dry completely, following the manufacturer's instructions. Depending on the type of stain and the humidity and temperature of your workspace, this may take several hours or overnight.
Apply a second coat (optional): If you want a deeper color, you can apply a second coat of stain after the first coat has dried. Follow the same steps as above, but apply the second coat more lightly.
Seal the wood: Once the stain has dried completely, you can protect the wood by applying a sealant, such as varnish or polyurethane. Apply the sealant evenly with a brush or cloth, working in the direction of the wood grain. Let the sealant dry completely before applying a second coat, if desired.
Remember to wear gloves and protective clothing when working with stain, and work in a well-ventilated area to avoid inhaling fumes. Additionally, be sure to dispose of any rags or cloths used to apply the stain and sealant properly, as they can be a fire hazard.